Popular Categories
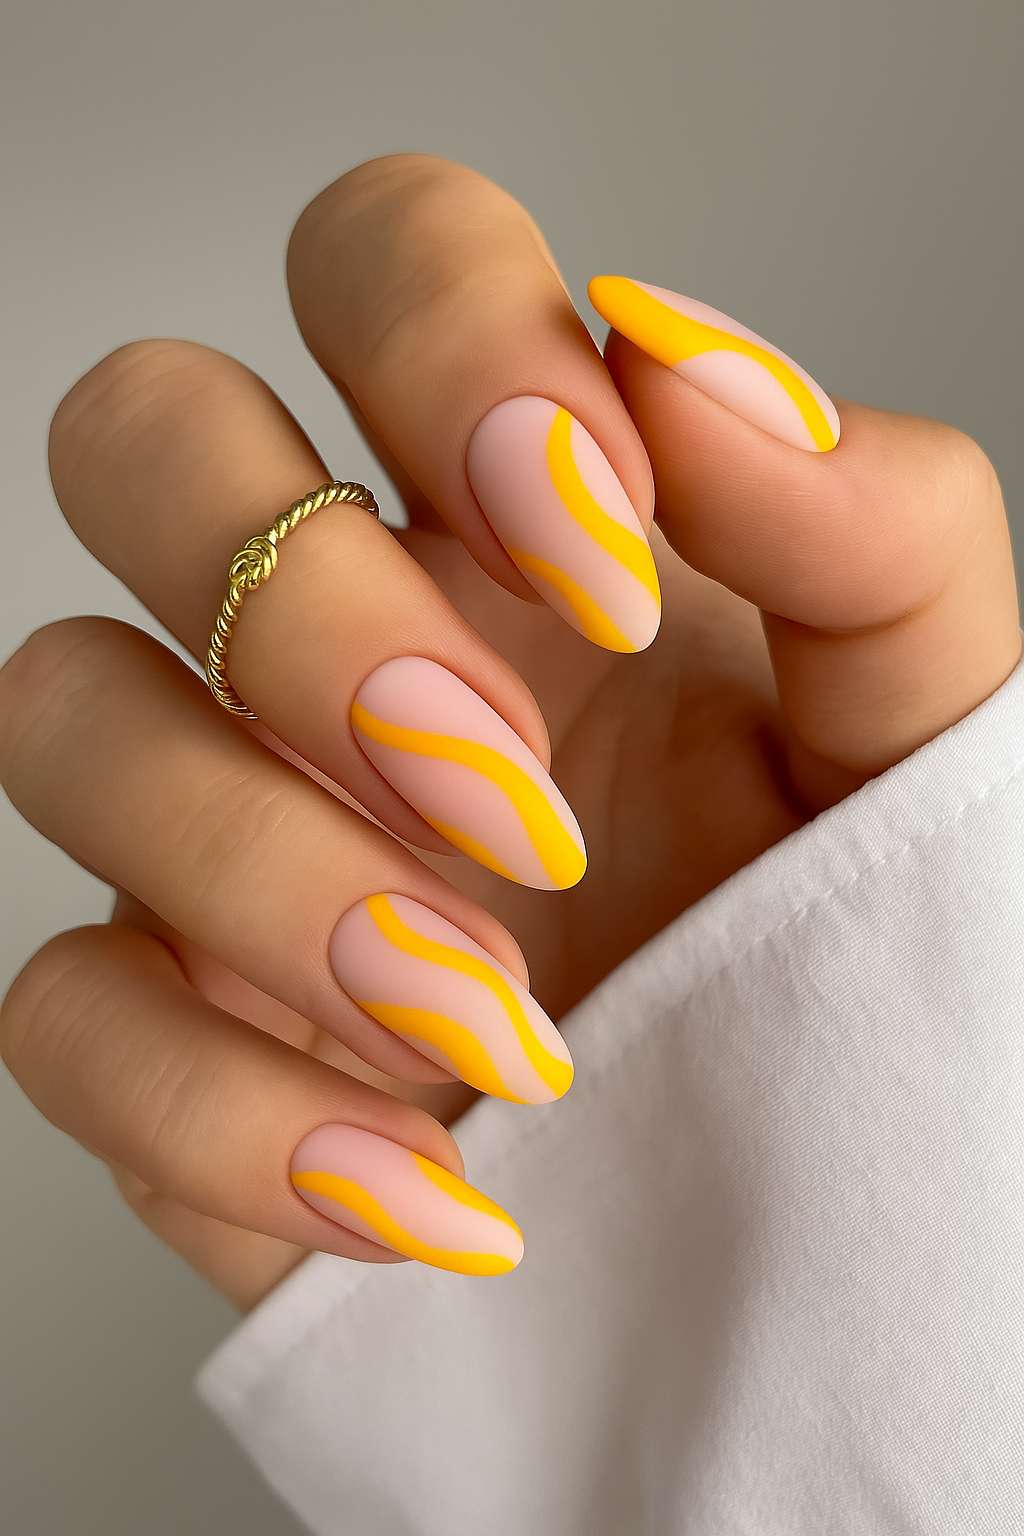
Sunset Swirl: Summer Vibes on Your Fingertips

Summer is the perfect time to bring out bold, vibrant, and fun nail art — and nothing screams sunshine more than a pop of pink and yellow swirls! The Sunset Swirl nail design is a playful yet elegant look that combines warm hues with modern abstract patterns, giving your fingertips the perfect seasonal upgrade.
Whether you’re a DIY nail enthusiast or visiting your favorite salon, this guide will walk you through how to recreate this trendy design at home.
Materials You’ll Need:
-
Base Coat
-
Nude or Light Pink Nail Polish (as the base color)
-
Bright Yellow Nail Polish
-
Hot Pink Nail Polish
-
Thin Nail Art Brush or a nail striping brush
-
Top Coat
-
Nail Polish Remover & Cotton Swabs (for clean-up)
-
UV/LED Lamp (optional for gel polish)
Step-by-Step Guide:
Step 1: Prep Your Nails
-
Start with clean, trimmed, and filed nails.
-
Push back your cuticles gently and buff the surface for smooth application.
-
Wipe nails with nail polish remover to remove any oils or residue.
Step 2: Apply the Base Coat
-
Apply a thin layer of base coat to protect your natural nails and help the polish adhere better.
-
Let it dry completely (or cure under UV/LED lamp if using gel).
Step 3: Add the Base Color
-
Paint your nails with a nude or light pink polish.
-
Apply 1–2 coats depending on opacity. Let each coat dry before applying the next.
Step 4: Create the Swirls
-
Dip a thin nail art brush into your yellow polish and draw abstract wavy lines diagonally across the nail.
-
Clean the brush and repeat with hot pink polish, adding another swirl next to or overlapping the yellow line.
-
Let the lines dry completely before moving on.
Step 5: Clean Up the Edges
-
Dip a small brush or cotton swab in nail polish remover and gently clean up around the cuticles and edges for a polished look.
Step 6: Seal with Top Coat
-
Once dry, apply a generous top coat to seal your design and add a glossy finish.
-
Let it dry completely or cure under a lamp if using gel polish.
The Sunset Swirl design is more than just a trend — it’s a mood! Bright, cheerful, and effortlessly chic, it’s a perfect way to express your sunny side. Whether you're heading to the beach or just brightening up your week, this look brings the ultimate summer vibes to your fingertips.
So grab your tools and let your creativity swirl!
FAQ
1. Can I do this design with regular nail polish or do I need gel?
Yes! You can achieve the Sunset Swirl design with either regular or gel polish. Gel offers longer durability, while regular polish is easier to remove and redo.
2. What if I don’t have a nail art brush?
You can use a fine-tipped paintbrush, a toothpick, or even a bobby pin in a pinch! For best results, a nail striping brush gives the cleanest lines.
3. How long does this design last?
With a quality top coat, the design can last 5–7 days with regular polish, and 2–3 weeks with gel polish (depending on wear and tear).
Posted on 28 Mar 2025, this text provides information on Handcrafts related to DIY. Please note that while accuracy is prioritized, the data presented might not be entirely correct or up-to-date. This information is offered for general knowledge and informational purposes only, and should not be considered as a substitute for professional advice.
Elegant Ladybug & Floral Nail Art Design
1 week agoQuit Bot: Easily Stop Automated Tasks Online
6 months ago5 Fascinating Facts About Chingam Rashi in English
6 months agoTo be looking for Blues work
6 months agoBest steps to attract audiences in social media
1 month ago


Comments(0)